As a scientist having an online presence is now more important than ever.
And communicating your science to a target audience is definitely a must by now.
One way to communicate science online is to build a website. Science websites are great opportunities to reach as many different people as possible.
On your science website, you can write about any science topics-like starting a science blog-introduce your research and your lab members or discuss a certain research project. No matter, what you want to build, but you better start now talking about your awesome research. But I also know that starting a science website can be pretty adventurous (well, I have been there!).
How to start your own science website
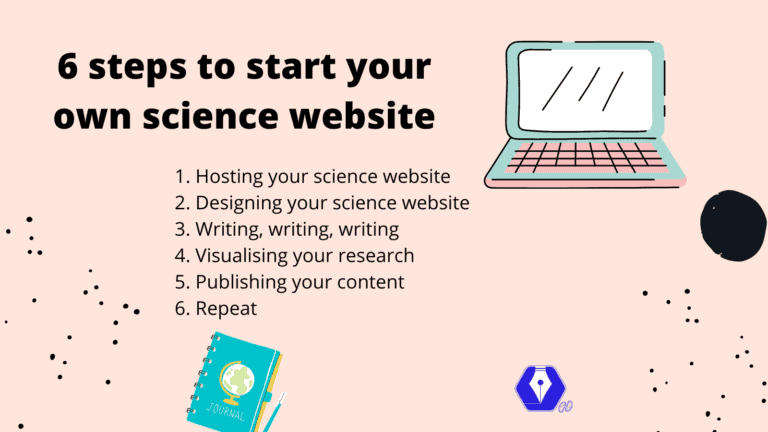
So, in this post, I want to share with you 6 steps to start your own science website. And for a step-by-step breakdown, I recommend you our free guide on how to start your own science blog.
In this blog post, I will give you some tools and tips to help you promote your research and your website. This has one big goal: to communicate science.
Let’s start at the beginning of building a science website.
1. Hosting your science website
I honestly have not used anything else than WordPress.
I found that over 37 % of all websites run on WordPress, so I did not even feel the need of trying anything else. And a friend suggested Bluehost as a host for the website. Plus, they are also supposed to be the most beginner-friendly. Which was exactly what I needed.
With Bluehost, you will also get your domain name and I suggest you think about that one for a bit!
So, basically, you pay Bluehost to take care of installing and setting up WordPress on their servers for you. Then you use your customized WordPress instance to build your website reachable on your own domain.
2. Designing your science website
After you activated your WordPress and your domain, you can start thinking of how you want your website to look.
For this, you will need to pick a theme. This can be pretty overwhelming to be honest, as there are SO many! So, start with a simple one, for which you do not have to work much on the overall design. This allows you to focus on your website content.
You can then download and install different plugins to have additional functions. Plugins are a bit like apps on the phone. They allow you to do more stuff, like making your website faster and giving you more options. But, generally, they are not essential for using the phone/website.
Pro tip: Once you feel braver, you can try Elementor. Elementor is a great tool to build your own pages (like this one). You can also make themes so that all your pages and blog posts will look exactly the way you want.
3. Writing, writing, writing
Okay, you finished the hardest part: the technical stuff. Now, let’s start with the fun part: creating content for your science website.
There are probably a thousand ways to write content for your website and you maybe already have your favourite. If you don’t or you’re looking for alternatives, I can highly recommend Notion.
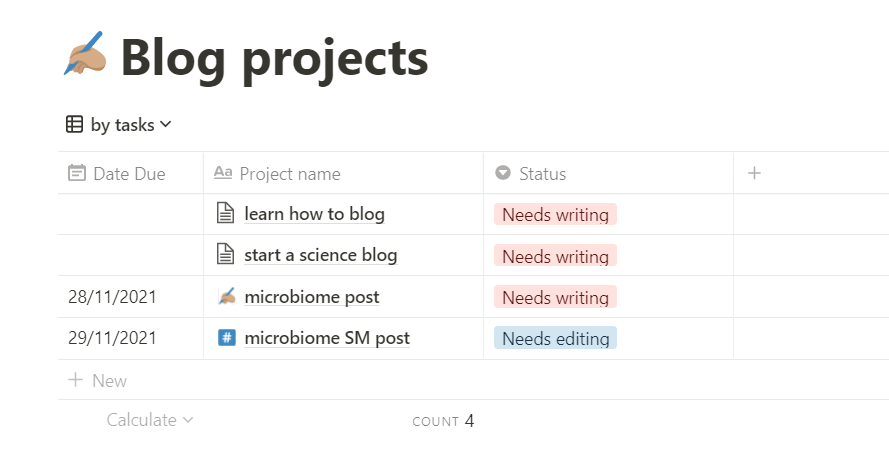
You can use Notion to write your blog posts but also organise your blog post entries and any other projects you’re working on. If you’re not convinced yet, you can check out my free Notion template to organise your science blog and make your life easier.

Generally, I organise all my projects in Notion. It has so many advantages like syncing across all your devices, its minimalist workspace and the easy sharing of content.
Pro tip: Get the Notion extension “Notion Saver” and whatever you find on the internet, you can easily save to your Notion workspace. For example, if you find a cool publication, that you want to write about in a blog post, save it in Notion and read it later.
After you have written your content for your website or blog post, you HAVE TO make sure there are no grammar or spelling mistakes in your text.
For that, you can use Grammarly, which highlights grammar or spelling mistakes in your texts. We all know this from paper or thesis writing; at some point, you do not see your own mistakes anymore.
Okay, now you have your perfectly written text about your awesome science.
But a very important feature of any webpage is still missing: Visualisations!
4. Visualising your research
As we all know by now, good science communication requires nice visuals to explain science. And these visuals are also super important for social media. So, they certainly require a lot of attention.
You can hire an artist to help you visualise your scientific concepts or you try to find your own artistic side. For that, I can highly recommend Biorender.
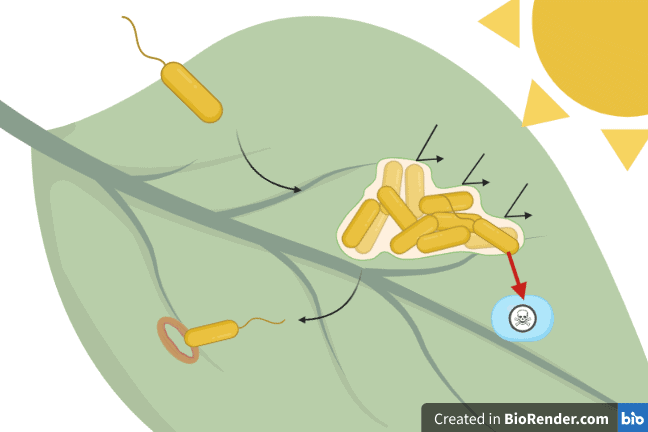
Biorender is a great platform to visualise any biological concept, make graphical abstracts, figures for paper or reviews or even detailed and complicated workflows.

You have tons of templates on Biorender to show bacteria, humans, research, experiments, animal work. And the team behind Biorender is constantly adding new templates or icons to the list. If you feel like trying some science art, Biorender is your go-to!
Now, you have a few great pages on your website explaining science. So, it now sits on the Internet ready to be seen.
What next?
5. Publishing your content
How do you get people to look at your awesome science website?
Yes, you use social media.
But your social media followers are not always active when you are active. Probably, many of your fellow researchers live on the other side of the world and check social media at different times than you.
This is where social media schedulers come in handy. There are a few out there, so make sure to do some research beforehand to choose the right one.
6. Repeat
A website lives from being fresh and up-to-date. So make sure to update your pages once in a while and publish new blog posts on a more or less regular basis.
And keep up the great work! Working on your online presence certainly is a marathon and not a sprint!
We know that all this technical lingo seems pretty frightening. This is why we put together this guide on how to start your own science blog. This will help you with each of these steps to set up, design and publish your own science website.

Starting your science website is a great way to communicate your research!
Here you have my list of 6 steps to set up a science website or science blog. There is much more to discover and so many tools, and I am sure you will find what works for you.
I hope that this list will give you some basic tools to play around with on your new website. And if you have other good tips or tools you think everyone should know about, feel free to share them in the comments.

